
Shaping a surfboard is an exciting and richly rewarding experience. You get to design a surfboard to your tastes while saving money on the cost of buying a finished product. However, you’ll need the right tools to get the job done.
The tools you’ll need to shape a surfboard include surform, block plane, electric planer, calipers, and more. You’ll also need tools that indirectly aid in the shaping process, such as lighting, tape measures, dust masks, and more.
Successful surfboard shaping requires paying attention to detail which is more difficult if you don’t have all the right tools. In this article, I’ll cover all the tools you need to produce the perfect surfboard. All product recommendations are from Amazon.com.
Block Planes and Similar Bladed Tools
You’ll need block planes and other bladed tools like trim planes and spokeshaves while working on the stringer of your surfboard. This part of the surfboard is usually made of wood. Since it’s surrounded by foam, it is difficult to achieve a clean finish around the stringer.
With a sharp block plane, you can refine the stringer to the same level as the foam. You can go slightly lower than the foam if you apply the right technique without tearing too deep into the foam around the stringer. Refining the stringer is one of the hardest parts of the job and is one of the best ways to measure a shaper’s expertise.
The trim plane and spokeshave do a similar job to the block plane, but they are more capable of reaching curves and other complicated corners that a block pane won’t fit.
The WORKPRO W052002 Block Plane is an excellent block plane you can go with. It comes with a cast-iron body and adjustable cutting depth.
The Hongwen Mini Trimming Planer and the Boeray 2pcs Adjustable SpokeShave are good accompaniments. They are both made of durable material and feature corrosion-resistant coating.
An Electric Planer
The electric planer is one of the first tools you’ll find in a surfboard shaping workshop. It will breeze through the stingers and foam easily and accurately. Some expert surfboard shapers can take a board from rough to near-complete with just one of these.
Using it, you can trim your board down to your desired thickness level and achieve the shape you’re looking to go for around the rails. You can also use an electric planer to produce concave and similar bottom contours for your board. It’s possible to get the job done if you don’t want to buy one of these, but it will take a longer time to complete the job.
If you’re in the market for some good models of electric planers, you can look at the WEN Electric Hand Planer and the CRAFTSMAN Hand Planer (CMEW300). They are both powerful planers designed for smooth cuts and excellent dust extraction. However, the WEN product is the more powerful of the two. It delivers up to 32,000 cuts per minute in comparison to the 16,000 delivered by the CRAFTSMAN.
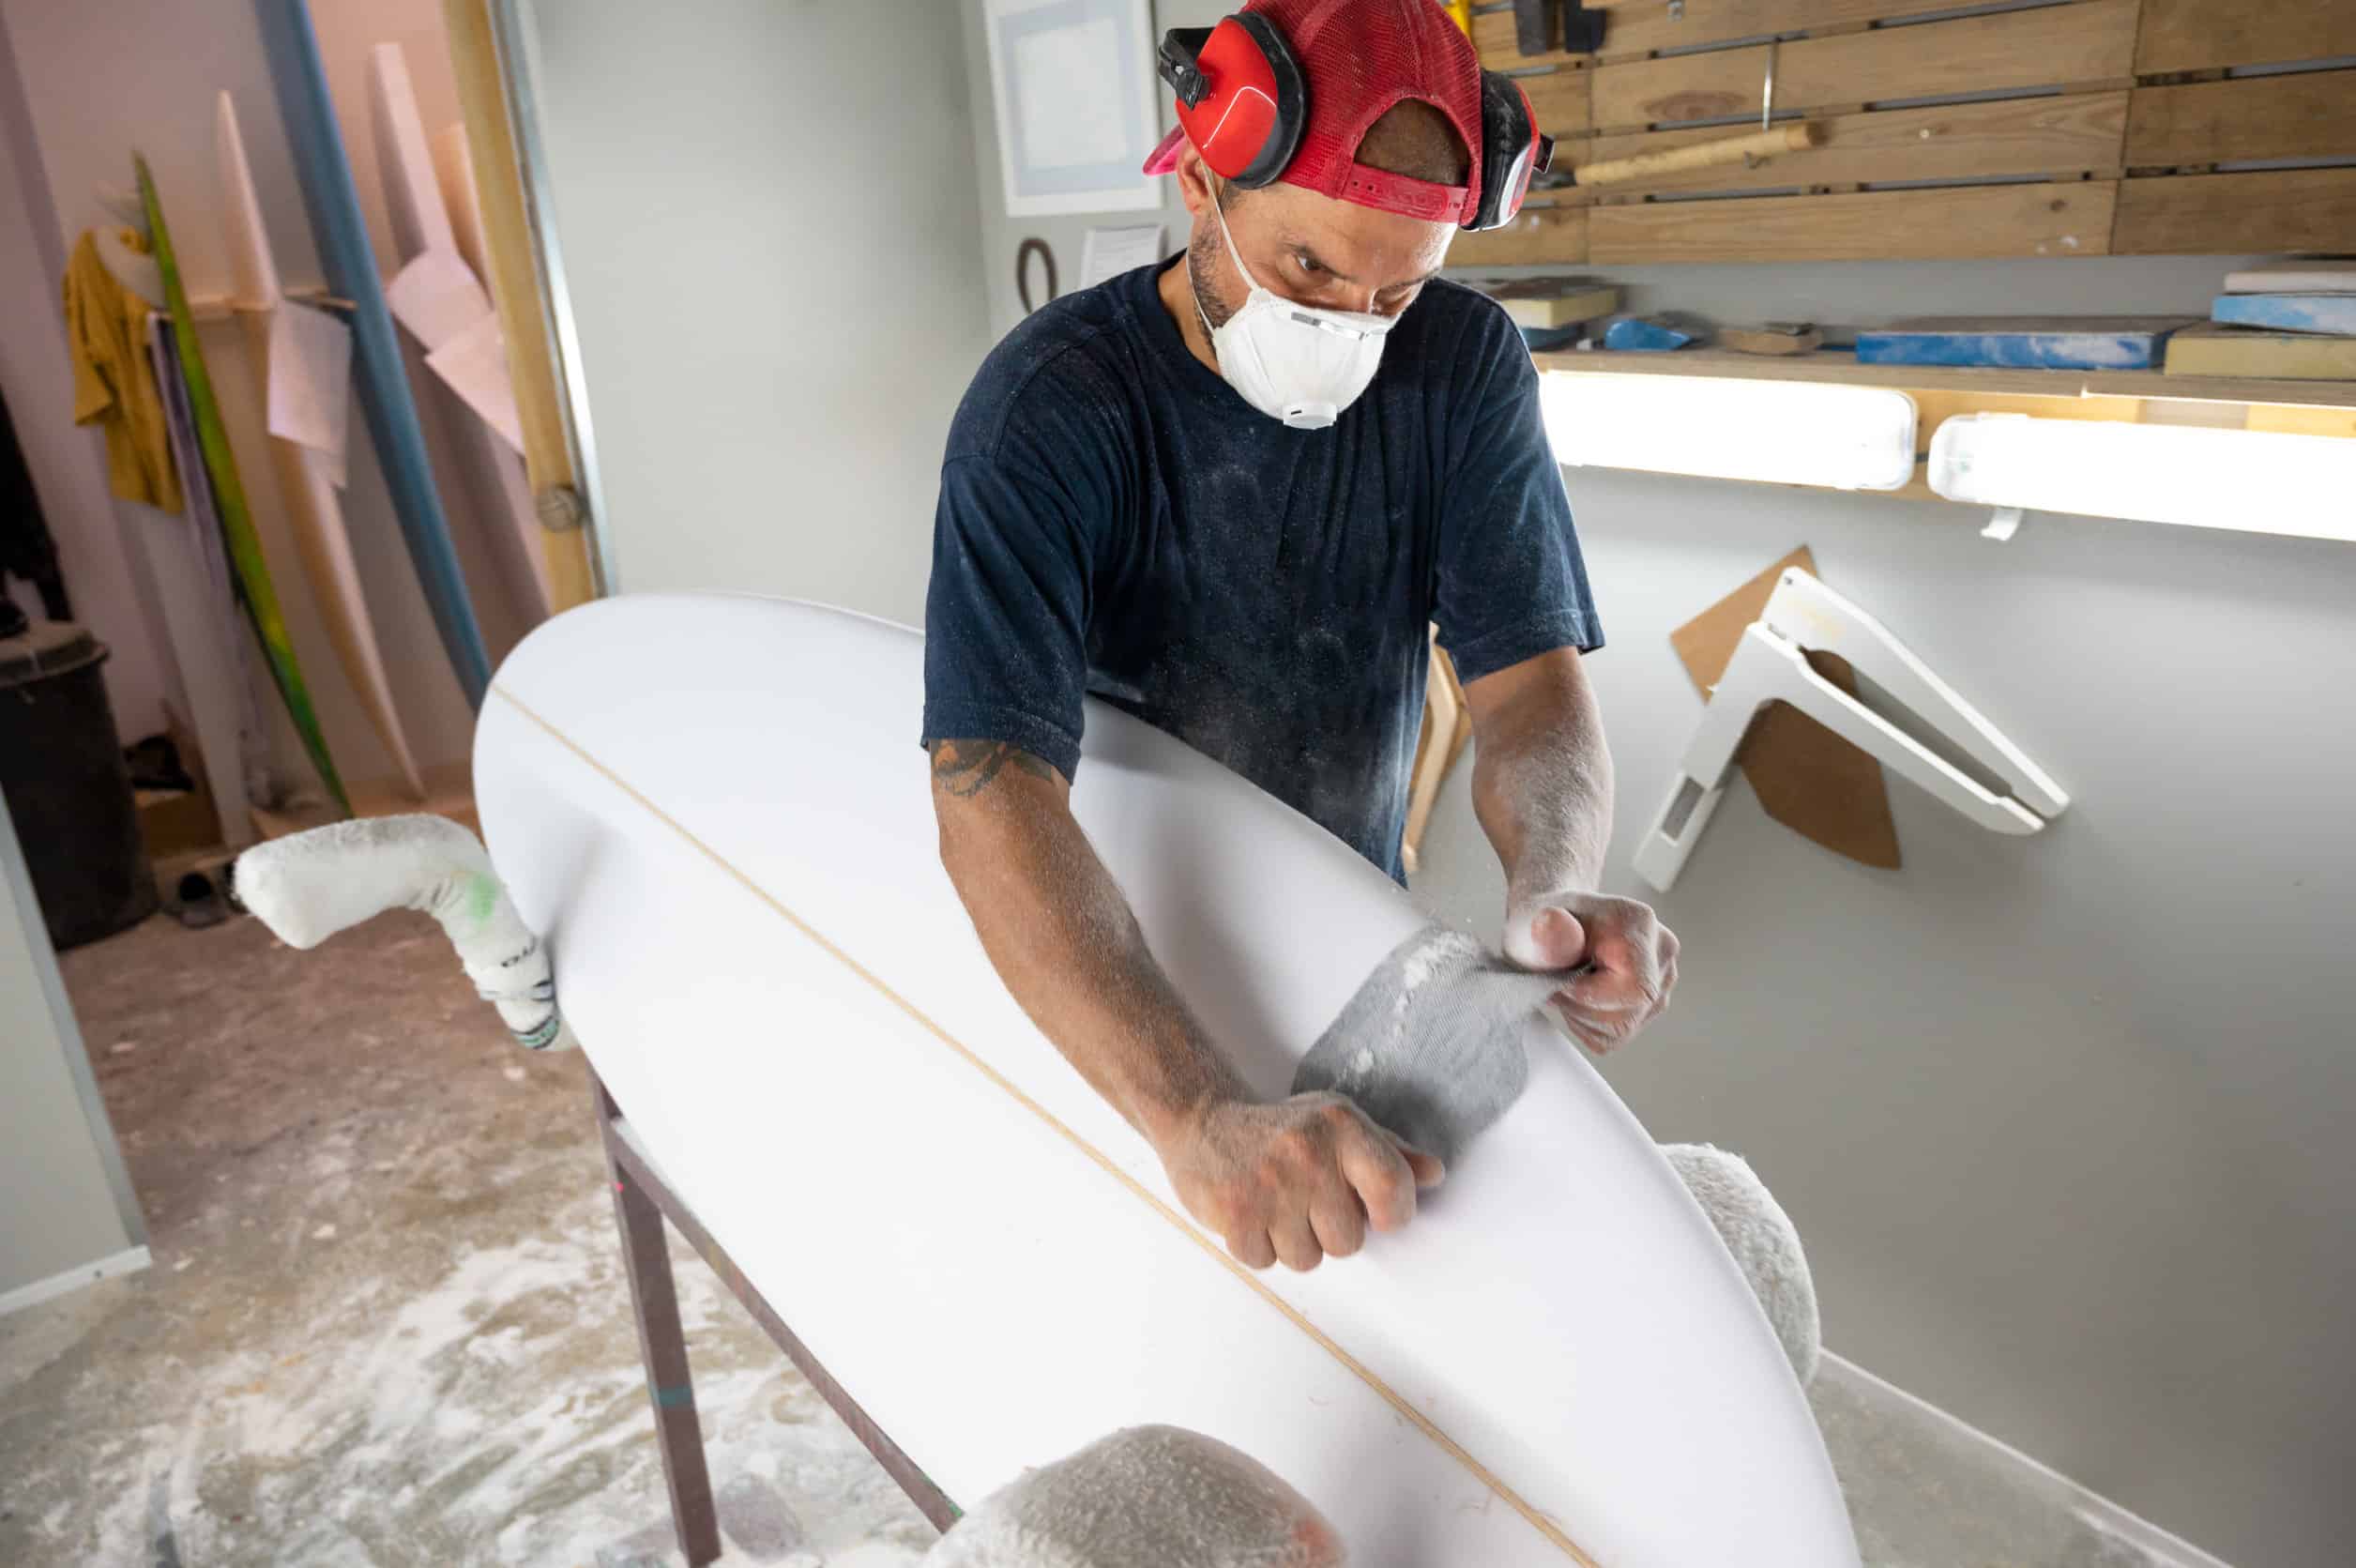
Sanding Blocks and Sandpaper
You need various grits of sandpaper or a sanding block when shaping your surfboard. They allow you to shave down the board like a surform or planer, but at a much finer level. You’ll get a finer finish as you go up the grit scale.
The sanding pad’s base might be made of wood or soft foam. You can also use harder wood blocks and wrap sandpaper around them. The exact option to use depends on whether you’re smoothing out ridges and lines left by other tools or looking to achieve a finer finish in general.
This Sack Orange Sanding Sponge contains a mix of the main grit levels you’ll need for this job, starting from coarse to super fine.
The Surform
The surform comes with a blade you can compare to a cheese grater. The tool is super handy when you’re looking to level out leftover ridges after using your electric planer. The tool can seamlessly cut through the stringer and foam.
Some newbies to surfboard shaping start with surform instead of electric planers. It’s the more demanding approach, but they are cheaper. They are also generally easier to wield for a learner when it comes to reducing board thickness and starting contours. The Stanley 21-115 Surform Shaver is a good product to go with here. It’s compact and has a molded polypropylene body.
Shaper Squares and Calipers
Calipers and shaper squares are measurement tools. You need them to map out dimensions before you get to work on the blank. You’ll also need them to confirm that you’ve got your measurements right after the shaping.
Calipers are mostly used to measure thickness in any board area, while the shaper squares have a wider application. You can use your shaper square to measure the width of a specific area, but you can also use it for placement or channel marking and planning. It’s the better tool to go with when you need exact measurements from any specific side of the stinger to the other.
For calipers, the Mitutoyo Absolute Scale Digital Caliper is a powerful option. It has a solid stainless steel build, and the digital LCD is versatile, showing inch and metric units. The Anytime Tools Dial Caliper is a stainless-steel no-frills option that can also read inches and metric.
For shaper squares, you can go with the WENCHENG Rafter Square Tool Set. It’s a durable and high-quality design with a matte finish. The level vial is easy to read, and the scale is easy to identify.
You may also need to add a tape measure to ensure you never have to measure twice. The Stanley Lever Lock Tape Rule is a good option. It comes in a high-impact ABS case and is very easy to use. Sliding out the tape may be more practical for you compared to using the other measurement options we’ve seen above.
Sanding Screens
These are the next tools you’ll use after sandpapers when you’re fine-tuning the overall shape of your surfboard. Most experts go with 80-, 120-, and 220-grit sanding screens. You can use these screens by wrapping them around the rails to clear any lines and ridges left by your surform and planer.
You can use the lowest grit to clear out bigger ridges and steps, slowly working your way up to 220. You need to maintain a delicate touch and a keen eye at this stage of the process to ensure you end up with matching rails on either side of the board. Sanding screens are used alongside finishing pads to ensure an ultra-clean finish.
A Fluorescent Strip Light
You need good lighting as a surfboard shaper. However, you must ensure the lighting isn’t coming from directly above you but from the sides. You can get adequate lighting by installing some fluorescent strip lights on shelves or walls around you. The lights should be mounted at your chest height. The lighting installation approach ensures you can readily see all the subtleties in the shadows as you work.
The All Glass Aquarium Strip Light and the Sunblaster Fluorescent Strip Light are two excellent choices you can go with. They come in durable aluminum housing and can deliver up to 10,000 hours of lighting. Sunblaster has a 1-year warranty as well.
A Dust Mask
Inhaling EPS or Polyurethane blanks over long periods is dangerous to your health. Inhaling foam particles for long periods may also affect your respiratory health negatively. You need to protect yourself with a dust or particle mask before you start shaping a surfboard.
The BASE CAMP Dust Mask is an excellent option to go with if you don’t have one already. It’s more breathable and comfortable, and you don’t have to worry about your glass fogging as you work.
If you already have some N95 masks from your COVID enforced supply, you can also use one of them instead of ordering some new masks.
A Handsaw
After you’ve drawn an outline on the blank, you’ll need to cut it out. You’ll need a handsaw for the job. Go for options with medium blades. Saws with super coarse or superfine blades won’t deliver the perfect result you’re going for. You can use the tapered end to cut the board’s nose and tail, while the fat middle part can be useful on the rails.
You can borrow a handsaw if you don’t have one, but if this isn’t a one-off project, you’ll need yours. The QYQRQF 14-inch Pro Hand Saw is a good option here. The blades are sharp, and the blade has an ergonomic non-slip design.
Hardboard Sheet
You can buy ready-made templates when shaping a surfboard. However, if you want your own design, you can make a template from scratch. You’ll need a hardboard sheet for this. The standard hardboard sheets available in most stores are generally good enough.
If you’re looking to buy online, you can go with these Bright Creations Blank Chipboard Sheets. There are 20 pieces in the package, so you won’t need to buy a new pack for a while.
Other Tips To Keep in Mind When Shaping Your Surfboard
As you gather your tools for shaping your surfboard, there are a few important tips you need to keep in mind:
Prepare Your Shaping Bay
You need a designated shaping bay if you want to get the best results. You should probably have one sorted before you start buying your tools. As you design the space to work in, pay attention to the storage, space, and ventilation. Don’t forget the lighting as we mentioned above.
The perfect space for your shaping bay should leave you enough room to move around the board as you work. It also needs to have enough room for your storage shelves and your lighting. You will swap tools a lot as you work, so you need side shelves to ensure all of them are within reach at all times.
Proper ventilation is important when shaping surfboards. You need at least two windows to keep the fresh air coming in. You can also install fans to cycle out the dust and fumes faster. Proper ventilation and using a mask will keep your lungs safe.
Build a Shaping Stand
You’ll need a stand to place your surfboard as you work on it. It’s impractical to hold it or to put it on a flat surface. The ideal stand should be sturdy enough to hold the board as you work but adequately protected with duct tape and foam to cover the part of the stand that will come in contact with your surfboard as you work.
Plan Your Shaping Ahead
You need to have a shape in mind first and then devise a clear plan to bring the shape to life. You need to first draw the outline of your board with a template. Once that’s done, you can start cutting the board to get the rough chunk. You need to cut as close to the outside template line as possible.
Keep in mind that you should ideally cut from a vertical angle and not horizontally. If you haven’t used a saw in a long while, it might be a good idea to get some practice first before you start working.
Pay Attention to Your First Cut
If you don’t want to spend far too much time sanding, you need to pay attention to your initial cut. If it’s your first time shaping a surfboard, it might be a good idea to leave a wider gap between your cut and the template line. That way, you can sand or square off imperfections instead of ruining the template and the board.
Improvise With Tools
You don’t need to have all the tools we’ve covered here to get the job done. If you have the basics, you can get by. Granted, using sandpaper where a planer will suffice can be tedious, but you can still get the job done.
You can also use make-shift tools where necessary. For example, a piece of brick wrapped with sandpaper can still sand down your board if you don’t have a sanding block. Use what you can find to get the job done, and you can save money.
Don’t Leave Room for Guesses
If you think there are inaccuracies in the board’s shape, you’re probably right. Hold up the board and look at it again. You may need to go back to sanding the affected area down. In some cases, you may have to cut the board a little deeper. Few millimeters of inaccuracies are enough to change the dynamics of the board.
Be Careful With Electric Tools
In your early surfboard shaping days, you need to be careful with electric tools. From planers to sanders, it’s easy to lose control of them. Manual tools are more forgiving for newbies just getting started. As you gain more experience, you can slowly shift towards using electric tools.
Seek Expert Help Where Necessary
As an inexperienced surfboard shaper, you’re likely to need some help in the middle of the job. Don’t hesitate to ask for help from more experienced heads. They can help you analyze specs, check out your template, discuss sanding, etc. If you have no one to reach directly, you can always hop on YouTube for more guidance.
Here’s an example of a good video you can work with:
Don’t Dwell Too Much on Mistakes
You won’t get your surfboard shaping right at the first time of asking. However, you don’t have to fixate on mistakes. When they happen, they can be corrected easily—sometimes with just sandpaper. Even when you’ve cut a little too deep into your template, you can remedy the situation by tweaking your design a little bit. Bottom line; don’t be quick to start all over.
Hire Tools at the Start
It’s very likely that you don’t have all the tools you need to shape your surfboard. If you intend to set up a full shaping bay you’re going to use time, and again, you’ll need to get your tools.
Otherwise, you can hire a surfboard shaping toolbox. Talk to established shops around you for hourly rates on hiring one of these. Even if you intend to set up your bay later, you can learn the ropes with a hired toolset and buy yours when you’re properly grounded.
Final Thoughts
I’ve covered the main tools you need to shape a surfboard. However, as you’ll find out later in your career, the list is not exhaustive. I’ve only covered the basics, and there are no fixed rules on what to use when shaping a surfboard.
Expert surfboard shapers may or may not use all of these, but you’re likely to find most of them in a standard shaping bay. Pick a few of the major options, and you can get to work on your board. Check tutorials online for an idea on how to start the shaping process.