
Action photography takes some special techniques and tricks to do successfully, and surf photography is no exception. You’ll need to ensure that you get the right framing, capture moments with clarity, and pay attention to the lighting and atmosphere.
The tips for surf photography include:
- Anticipate the action.
- Use the rule of thirds.
- Follow the wave’s pocket.
- Use shutter speed priority and focus tracking.
- Cover your lens in water before shooting.
- Find the best lighting.
- Add dimension.
- Stabilize land shots.
- Capture the atmosphere.
- Practice your craft.
So, let’s get into the technicalities and talk about how you can become a successful surf photographer. I’ll give you all the pro tips you need to step up your game and capture the moment with style.
1. Anticipate the Action
When you capture surf images, knowing when a big wave is about to hit or when your subject is about to perform a trick will give you an advantage over your subject matter.
Knowing when something big is about to happen can make all the difference in your photographs since waves can come and go very quickly, and your surfer’s best tricks and positions will pass even more rapidly.
If you want to capture that lovely fleeting moment, anticipation is crucial.
To get the upper hand, you might want to try surfing yourself. The better you are at surfing, the more you will know about your subject matter, and the quicker you will be able to anticipate the action shot you’re looking for.
Whether you want to catch large-pocketed waves, aerial techniques, or crisp sea-dew splashes, getting your timing right is essential for a great photo.
So, get out there and do your research. Watch other surfers or get into the water, analyze the pattern of the waves that come in in your area, and study the light conditions during certain times of the day.
Doing so will help you get your timing right when you start shooting.
2. Use the Rule of Thirds
If you want a beautiful, artistically composed picture, using the rule of thirds is your best bet.
The rule of thirds is an artistic concept that can help you create a balanced image. To use the rule of thirds, imagine that your picture is divided into a 3×3 grid.
Within this grid, you want your photo’s focal point to fall within the left column of the grid or the right column of the grid. That way, the rest of the image has a more open feel, keeping the picture from feeling cluttered or too busy.
So, when you want to take a picture of a surfer as they catch a wave, try framing the photo, so the surfer is surfing into the image from the left or right-hand side. Don’t let the surfer fall into the dead center of the photograph since doing so would detract from the dynamic feel of your action shot.
Using the rule of thirds, you can captivate your photograph’s speed, action, and story, helping you get a more remarkable photo in one quick frame.
Although there are other ways to take and frame stunning, captivating photographs, the rule of thirds is the most basic and foolproof way to ensure that your picture is memorable, especially when you want to capture motion.
So, try it out next time you shoot and feel free to try using it in new ways!
3. Follow the Wave’s Pocket
When you take surf photography, you want to capture the ocean’s stunning texture along with your surfing subject. That way, you can get more of a sensory feel from your photo.
A great way to add sharp, crisp water droplets and the contrasting white, green, blue, and grey peaks of the waves is to follow the wave’s pocket with your camera.
Your surfer will likely also follow surf through a wave’s pocket, using it to gain more momentum as they coast along the water. So, as you capture the natural beauty of cresting and troughing waves, you will also be able to get the most dynamic pictures of a surfer by using your camera to follow the most intense waves.
If you are shooting from within the water, swimming or surfing into wave barrels will usually get you the very best pro-quality shots.
However, there is a considerable risk in swimming out there.
Entering the tide with your camera and facing a surfer head-on underneath a wall of water can be perilous. So, always ensure you have a high-quality waterproof camera housing and a way to get out when you try to get barrel shots.
4. Use Shutter Speed Priority and Focus Tracking
In surf photography, some of the best moments for images can pass by in less than a second. If your camera doesn’t focus correctly or doesn’t get enough exposure to capture a well-lit photo, you won’t be able to try again.
That’s why it’s crucial to take advantage of your camera’s shutter priority mode, which is often marked “TV” or “S” on your camera, and focus-tracking capabilities.
Shutter Priority Mode
Shutter priority mode is a semi-automatic feature that allows you to set some settings manually while still allowing your camera to automatically adjust its aperture and shutter speed based on the movement and lighting of the image you capture.
Using your shutter speed priority mode in surf photography will help you create well-defined images with optimal sharpness. When setting the shutter speed in shutter priority mode, most professionals recommend using 1/2000 for bright, sunny days.
For average-lit or overcast days, try 1/800 shutter speed.
The faster your shutter speed, the lower the aperture number must be. Lower aperture numbers let in more light, but they also result in a narrower field of focus. You will have to experiment with the numbers to determine which shutter speed gives you the best pictures.
Focus Tracking
Also, focus tracking is your best friend when it comes to taking action shots like surf photos. Focus tracking uses a computer in your camera to automatically predict where a moving object, like a surfer or a wave, will go by the time your shutter clicks.
This setting is perfect for high-speed surf sessions and swift, tall waves, and it can help your images show crisp details, even when using slower shutter speeds.
Still, as always, every day is different, so you may need to take some test shots to figure out what works best for you and your camera on any given day. Be sure to take test shots of someone or something moving quickly to make sure your focus and lighting are perfect before the shoot begins.
5. Cover Your Lens in Water Before Shooting
When you’re on the beach and water gets on your lens, it creates unattractive, blurry droplets that are difficult to pass off as an artistic effect. Avoiding these droplets and blurry water spray is challenging unless you know some tips to keep it away.
If you want to keep your lens clear while you’re shooting, covering it in a film of liquid will help repel water, keeping spray and droplets from accumulating on your camera lens. The water on your lens will keep other liquids from holding onto the glass, warding off those annoying droplets.
Professional water photographer Tom Woods of ST Photography recommends thoroughly licking your camera lens before a shoot. Your spit should stick to the lens, repelling other water on contact.
If that isn’t something you want to do, though, covering your lens with a fine film of water or a very thin coat of wax or waterproofer should do the trick.
6. Find the Best Lighting
Arguably, the most challenging part of photography is finding the best lighting.
However, it can be even more difficult in the high-light conditions on the beach. The reflective water and glaring sun add a new level of challenge when taking professional-grade photos of surfers.
If the sunlight is too bright, you won’t be able to capture all of the details of the moment, but if it’s too dark, you won’t be able to see a thing. Knowing what time of day and which weather conditions are best for your photography is crucial if you want your photos to turn out well.
In general, some of the best conditions for taking surf photos are:
- Sunset and sunrise are the best times to take surfing photos on the water’s surface or from the beach.
- Noon and bright, sunny days are the best times to get good exposure from underwater.
- Cloudy and stormy conditions are excellent for all surfing photos since clouds diffuse light and add more texture and movement to your photos.
If the lighting is still too bright for your camera, adjust your exposure settings to a full stop, which keeps your camera from altering the color of the sky, ocean, or surfers around you.
Also, another pro tip is to angle your camera when the light is reflecting off the water too much. That way, the light will be brighter, but it won’t reflect right into your camera lens.
Still, the lighting will be different every day. So, try to take shots in the same place during different weather and lighting conditions for the best results. Then, you can compare the results and see what looks the best to you.
7. Add Dimension
Surf photography doesn’t have to be just images of your subject surfing on the water. Adding a touch of the shore, sailboats, cliffs, piers, and other natural elements will add more dimension and texture to your photo, bringing more contrast to the composition.
Still, it would be best to remember the rule of thirds when you add more layers and components to your image.
So, only include a few shots with interesting landscapes and objects in them.
Play with angles and try to find spots with unique landmarks, colors, and textures that can add shadows, new dimensions, and color contrast to your images.
Before your photoshoot, you may want to show up early and take time test shots in interesting-looking areas. Keep playing with angles so that you know what works and what doesn’t.
Also, it’s important to remember where your center of focus will be for each image as you practice and plan shots.
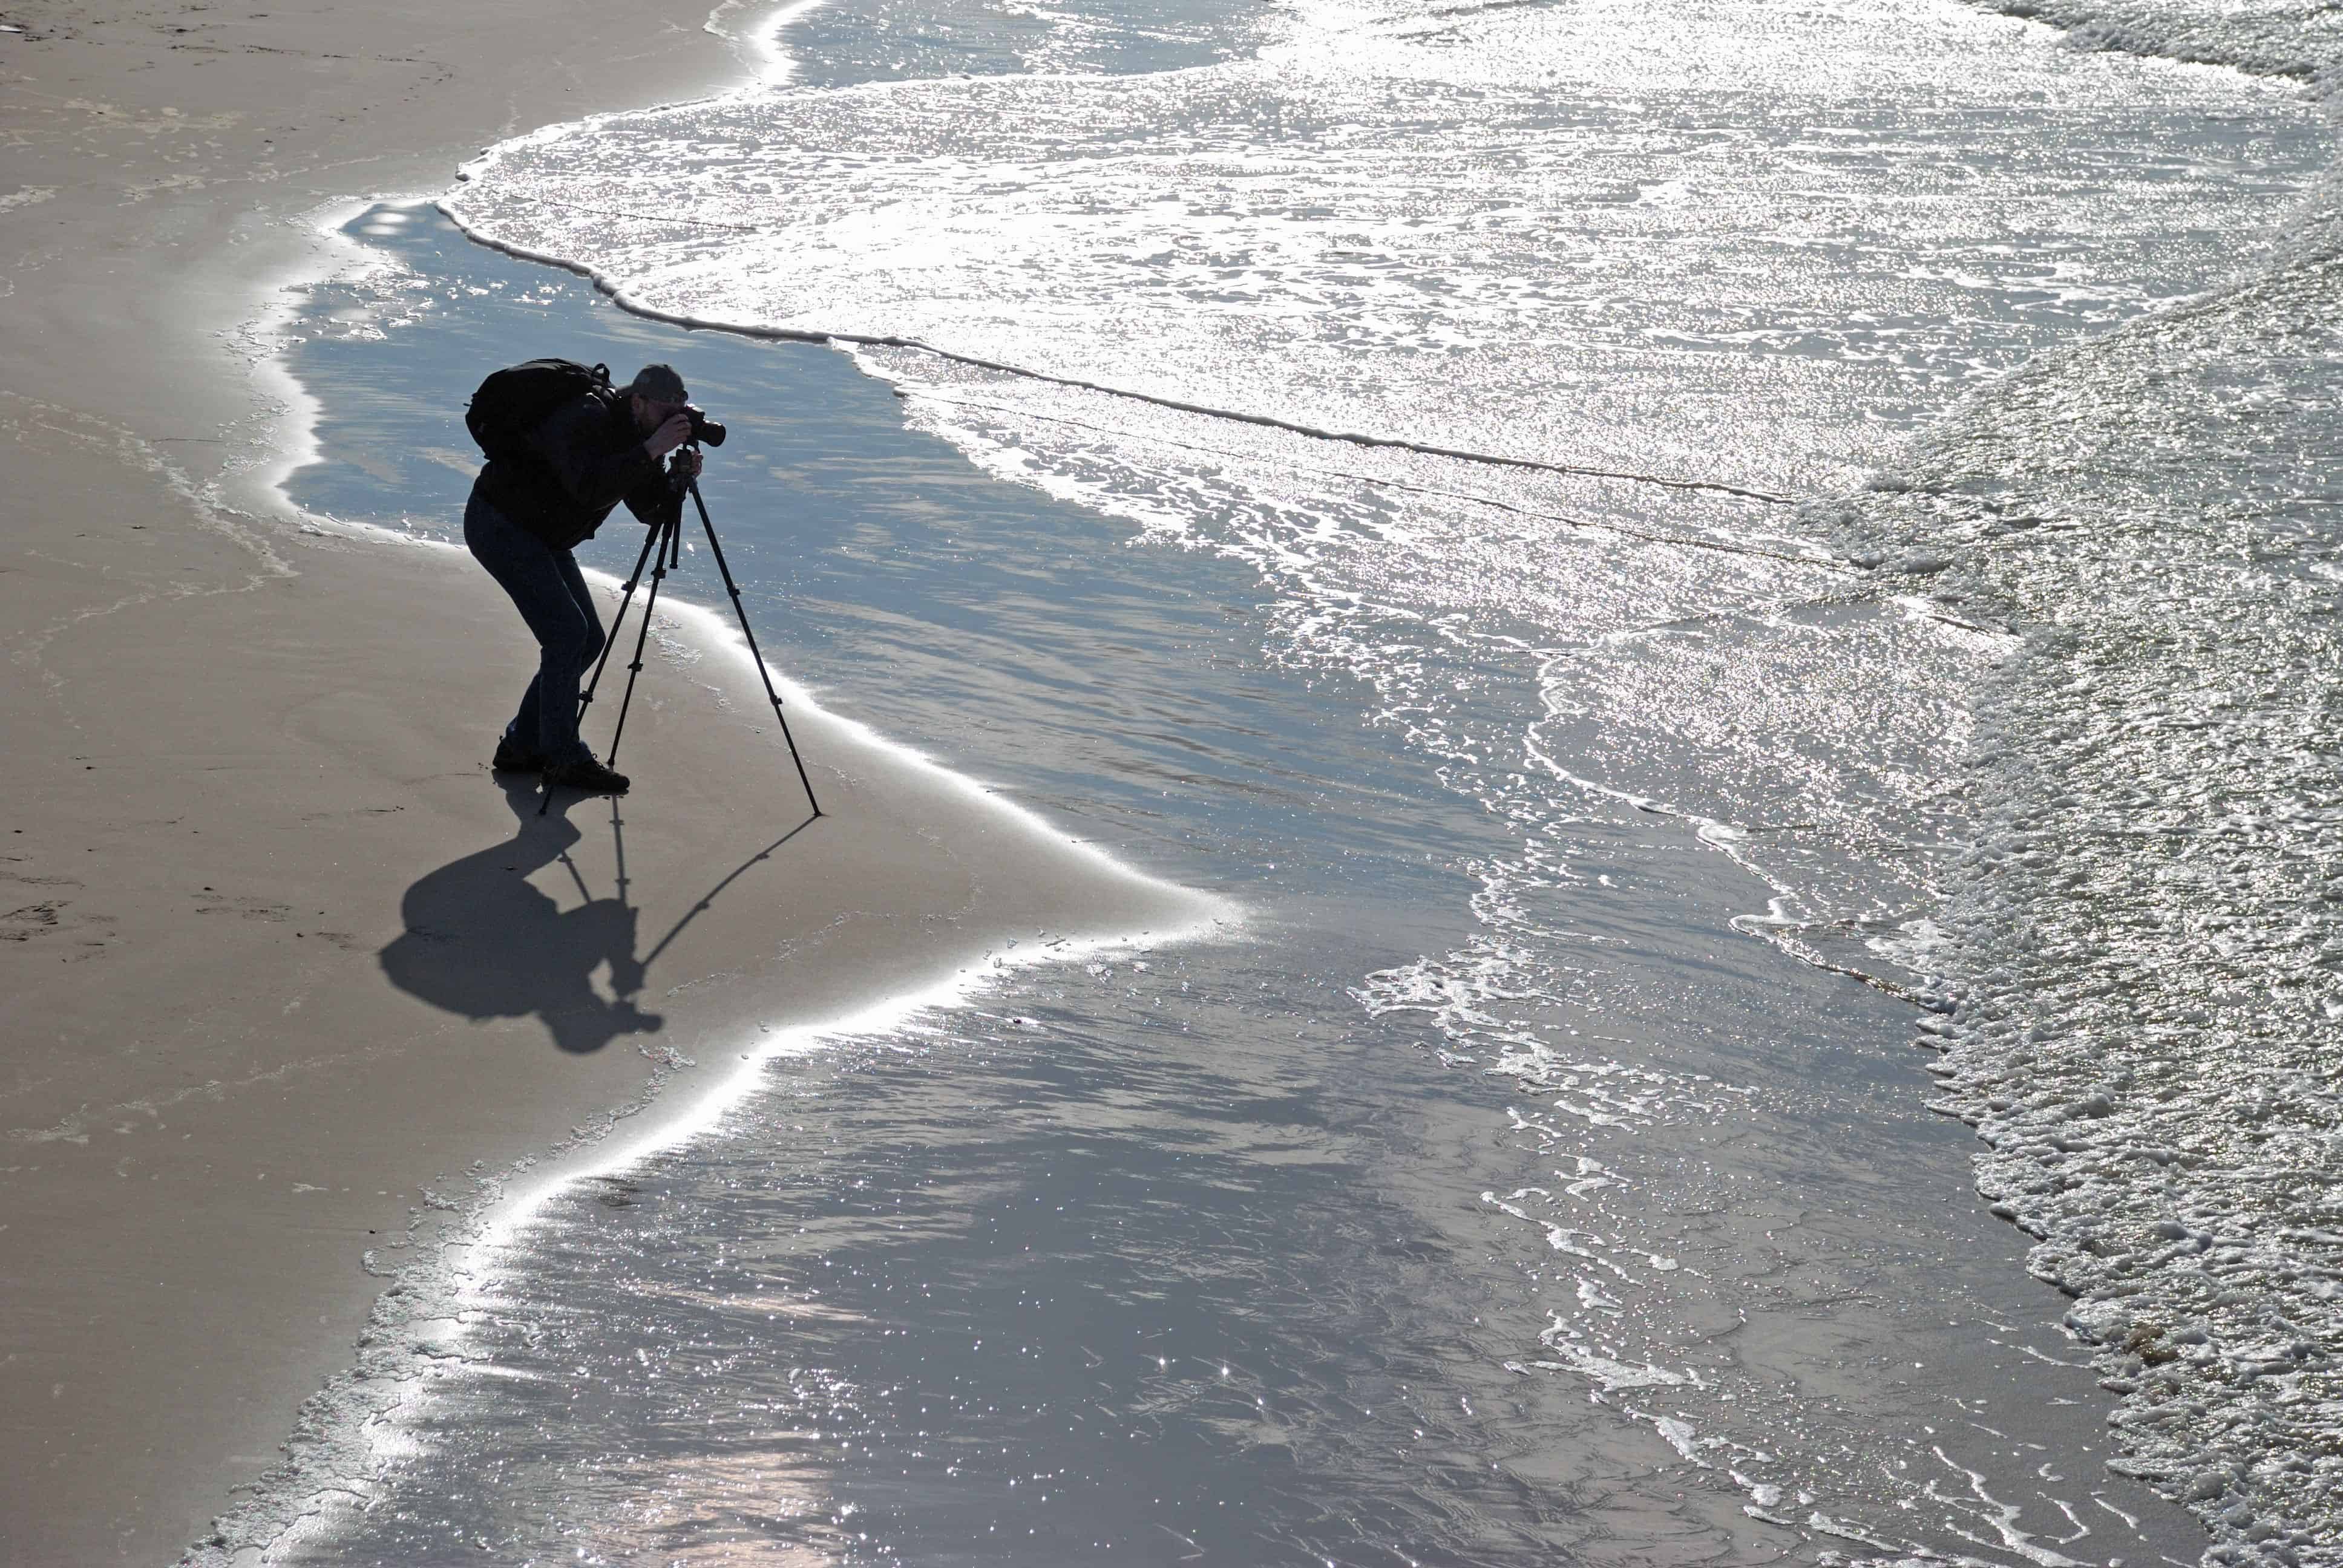
8. Stabilize Land Shots
It is always essential to keep the horizon straight in your photo. However, doing so becomes even more challenging when on an uneven sandy beach, swimming, or surfing on rough waves.
Skewing the horizon is a common cliche used by some photographers to hide their imbalanced photography. It’s an easy way to pass off a bad photo as something intentionally dynamic. As this has become more common among photographers, it has become a significant no-no among professionals.
So, if you want to keep your horizon lines straight, using a tripod for beach shots is essential. You can use horizon guiding lines or a grid on your camera screen to keep things level and straight, too.
When you’re in the water, ensuring that your frame is straight may seem impossible, and sometimes, it is.
That’s why creating a “padding barrier” or shooting your photo from a bit of a distance is an excellent idea for in-water shoots that include straight lines.
When you edit the images later, you will have plenty of room to crop and straighten your photo.
9. Capture the Atmosphere
When taking surf photos, capturing the story behind each shot can add extra depth and intrigue to your work. In addition, lifestyle photos capture essential memories, and they’re just as action-packed as any surf session.
Try to capture the before and after of each surf photoshoot.
Consider including photos of your surfer paddling out onto the water or images of them having fun on the beach. You can also try to capture wildlife popping out of the waves or flying above, washed-up shells, and the landscape around the water.
Or, take some shots of a pier or the people on the beach.
You can also try to catch pictures of your surfer walking along the beach carrying their surfboard, packing up the car, or traveling to town for a meal afterward.
Try to capture the entire experience of your surfer, and remember that there is a story behind each photograph.
10. Practice Your Craft
When it comes to surf photography, dedication, motivation, and enthusiasm will take you a long way. However, when you use your positive attitude to keep practicing, you can learn more things faster, helping you work your way up from novice to pro.
Even if you aren’t happy with your photographs right now, look at them as a way to learn.
Analyze all of your pictures and figure out what went right and what went wrong. Then, use those self-critiques to take even better photographs in the future.
Realizing that you always have something to learn from yourself is, in my opinion, one of the best parts of being a surf photographer. Surf photography isn’t something that can necessarily be taught, but it is something that you can organically learn on your own if you keep trying new things.
The tranquility that surf photography offers goes hand in hand with the realization that using your brain, you can capture priceless moments that will inspire you and other people to try new things and be themselves.
So, keep practicing, no matter how bad you might think your photographs are. They can only keep getting better as long as you try to learn new tricks from yourself!
The Best Equipment for Surf Photography
There is no one right way to do shoots when it comes to equipment and cameras for surf photography. Many professional photographers use varying equipment for their shoots, and there is no consistent camera or equipment they recommend.
However, specific tools can help you improve your photography game, especially if you want to get some shots in or under the water.
Some of the things you might want to invest in to improve your photography are:
- An interchangeable lens camera: Cameras that allow you to change the lens are the way to go when you are shooting surfers. That’s because you may need a longer lens for beach shoots or a shorter one for in-water shoots. In addition, your lens is far more likely to break than the rest of the camera when you get hit by a big wave, so you will want a camera that you can reuse for years to come.
- Telephoto lenses: When shooting surfers from the beach, you will need a lens with a powerful, high-resolution zoom. Telephoto lenses can ensure that your shot is crystal-clear and sharp from the start, so they are an essential tool for all surf photographers.
- Polarizing filter: On a bright day, it can be hard to ensure that your photos aren’t overexposed. A polarizing filter is an excellent option if you want to ensure that the light is balanced and perfect for your image before you take it.
Underwater camera housing: Having a good, reliable underwater camera housing is crucial if you like to shoot from within or under the water.